Showing posts with label Breads rolls doughs. Show all posts

11.03.2014

Mini Baked Apple Cider Doughnuts

Mini baked apple cider doughnuts

These should really be called mini baked apple cider doughnut muffin doughnuts, because I took a doughnut muffin recipe and adapted it to make doughnuts. But that sounded like too much of a tongue twister, so mini baked apple cider doughnuts it is.

8.25.2014

Classic And Creative Brioche Pastries With Joanne Chang

Preparing to make brioche dough following Craftsy class

Those of you who have been reading this blog for a long time know that I spent a little over a year working at Flour Bakery. It was at a time in my life when I was seriously considering culinary school. I was unhappy in my editing job at the time (to the point that I was in tears pretty much every Sunday evening stressing about and dreading the week ahead), and I wanted to do something I felt passionate about. As I was searching job postings, I came across one for a baker position at Flour. I had a lightbulb moment and thought maybe I could work at the bakery and learn on the job as opposed to paying for culinary school. It was one of the best decisions I've ever made.

1.30.2014

Cherry Tomato And Red Onion Focaccia

Cherry tomato and red onion focaccia

I love the introduction to Domenica Marchetti's The Glorious Vegetables of Italy. She recalls a trip to Venice with her family and writes that she remembers most vividly the vegetables at the Rialto farmers' market -- more so than Piazza San Marco or the gondolas. I know exactly what she means, and as soon as I read those lines, the images of all the vegetables I'd seen at the market in Venice popped back into my head too. She writes about how Italian cooking is a celebration of vegetables and goes on to show that through the many recipes in the cookbook.

1.22.2014

An Honest Loaf

An honest loaf

That's the name of the recipe I followed. And that's exactly what this bread is. An honest loaf. It's a simple mix of flours, yeast, water, and salt. Isn't it amazing that those few ingredients combine to make something as wonderful as a loaf of bread?

12.11.2013

Seeded Focaccia

Seeded focaccia

I am back with another awesome bread using the Harvest Grains Blend from King Arthur Flour. I just might be addicted to this mix. Luckily, that's not a bad thing since it's chock-full of seeds and grains.

12.06.2013

Cheddar-Beer Bread

Cheddar-beer bread

This post is seriously overdue. I made this cheddar-beer bread way back at the end of October. I'm sure it can be tailored to suit any time of year, but I made it with Octoberfest and thought it was absolutely perfect for fall. People say that you can't really taste the beer in beer bread, but you definitely can in this one.

11.20.2013

Pumpkin-Cranberry-Pecan Twists

Pumpkin-cranberry-pecan twists

I am obsessed with Iggy's cranberry-pecan rolls. I'm sure I've admitted this in the past. I usually have to buy one whenever I see one. Something about the toasty pecans and chewy tart-sweet cranberries just hits the spot. When I saw Stephanie's pumpkin-cranberry twists, I wasn't at all thinking about my beloved cranberry-pecan rolls. I just thought they'd be a perfect addition to Thanksgiving dinner. So I made the rolls.

11.13.2013

Toasted Harvest Grains Bread

Toasted harvest grains bread

The next bread I made after the vegetable demi-baguettes was a toasted harvest grains bread based on a recipe from Stephanie over at Girl Versus Dough. As soon as I saw her bread and how easy it sounded and how delicious it looked, I started craving it. During a visit to Vermont with a stop at King Arthur Flour on the way home, I picked up a bag of Harvest Grains Blend. I thought the mixture of sunflower seeds, sesame seeds, poppy seeds, flax seeds, whole oat berries, millet, rye flakes, and wheat flakes would be perfect in the bread. (And I actually made the bread the same day I got back with that bag of harvest grains!)

11.06.2013

Vegetable Demi-Baguettes

Vegetable demi-baguettes

I told you my soup-making and bread-baking goals and I shared some soups with you. Now it's time to share the first bread I made with you. It's a little embarrassing. My bread baking skills clearly need some work. Or maybe I need rocks and chains in my oven. No, seriously. That's what this recipe called for. I had this brief thought of running out to the yard and gathering rocks, but then there'd be the trip to Home Depot for chains, and I didn't have time for all that. (Not to mention that I'd also need a Super Soaker -- can't forget that!) I attempted a workaround instead, but based on the results, I think maybe I need those rocks and chains next time. Or maybe I just need some practice... or to not start with a Thomas Keller recipe. Glutton for punishment, that's me.

9.30.2013

The Apple Picking Aftermath

Apples

We must have come home with 30 pounds of apples after apple picking. That's my rough estimate, because after I made four apple pies (two double-crust and two streusel-topped), two apple cinnamon loaves, apple crisp (with maple dulce de leche instead of caramel), and applesauce, all of which required a total of about 15 pounds of apples, I still hadn't made a dent in the supply. I decided to make apple cider doughnuts, but I switched from my regular recipe and used one that didn't require any apples, so that didn't help diminish the supply but still made for a nice fall treat. Then I came across this amazing brown butter apple crisp skillet muffin bread and I made it right away, using up a couple more apples. Another went into a tuna melt. And I've still got a drawerful left!

11.24.2012

Cinnamon-Sugar Pull-Apart Bread With Madagascar Vanilla Crème Fraîche

Cinnamon-sugar pull-apart bread with Madagascar vanilla creme fraiche

When Vermont Butter and Cheese Creamery sent me that maple and sea salt butter, they also sent me another new product to sample: Madagascar Vanilla Crème Fraîche. I knew I needed to make something with the crème fraîche that would complement it and let it shine rather than bury its flavor. I turned to Twitter for inspiration and ended up tweeting with Mia, who is the pastry chef over at The Blue Room. She mentioned that crème fraîche can be whipped like cream, and I started thinking about pairing it that way with cinnamon rolls. I knew the cinnamon and vanilla would play well together. And then I remembered this cinnamon pull-apart bread that everyone seems to be making, and finally I had a plan.

10.15.2012

Guest Post: Italian Easter Bread

From Erica of In and Around Town...

At this point, Megan is somewhere in Italy drinking amazing wine and cappuccino and indulging is loads of pasta!  In honor of her Italian trip and her amazing baking, I wanted to share a post on Italian Easter Bread (even though we are nowhere near Easter!).  When I traveled through Italy in 2002, it was Easter time and I ate delicious Easter Bread with almost every meal.  I remember it fondly and find myself craving it from time to time.

Easter Bread
Family Cook Book
Growing up, my best friend was Italian and I was jealous -- I wanted to be Italian since they have the best food!  I am Swedish, Irish, Welsh and a bunch of other things, and sadly have no Italian in me.  Luckily, Nick is half Italian.  His grandfather tells stories of growing up in the North End in Baker's Alley and helping his father out with his push cart in the Haymarket area.  Over time, all of his relatives have made some great, traditional dishes.  Fortunately, a few years back Nick's family had the idea to collect and organize his Great Grandmother's recipes into a family cookbook.  One of the dishes they memorialized is Easter Bread, so here is my first attempt at the family recipe!

The Necessities:
  • 2 1/2 pounds flour
  • 2 packages instant active yeast
  • 1/2 pound soft butter
  • 1 cup warm milk
  • 6 eggs
  • 2 cups plus 2 tablespoons sugar
  • 2 tablespoons vanilla
  • 2 teaspoons salt
The Ingredients
I had to break out the scale to measure out the 2 1/2 pounds of flour - much easier than trying to somehow convert the amount to cups!  Then I went ahead and added the rest of the dry ingredients to a very large bowl.

Flour
Dry Ingredients
 In a smaller bowl I combined the wet ingredients.

Wet Ingredients
Ages ago (as in second grade maybe), someone recommended I create a well in the dry ingredients to pour the wet ingredients into, which I did here.  I added about half of them and stirred them together before adding the second half.

Wet Ingredients in the Well
Using my hands and one of my favorite kitchen tools - the pastry blender - I combined the ingredients until the dough was formed.

Formed Dough
Once the dough formed, I covered it with a dish towel and let it sit and rise overnight.  This recipe makes enough dough for two loaf pans, so in the morning I split it into two equal parts, placed them in loaf pans and allowed them to sit and rise a bit more.  After a short resting time, I placed the pans in a 350 degree oven for 30 minutes.  Just before the bread was done (about 25-28 minutes into the cooking), I brushed the bread with egg whites and sprinkled it with colored beads.

Next-Day Steps
I actually found that this made pretty heft loaves, and they actually needed about 10 minutes more than the suggested 30 minute baking time.  I think if I had divided the dough into three different pans rather than the two, I might have been more on target (maybe they had bigger pans then?!)

Fresh out of the oven
Ready to cut
This bread was sweet and delicious.  It's definitely a bit dense but does not sit in your stomach like some can.  The Easter Bread really could be breakfast or dessert.  I loved the sentiment behind this family recipe and can't wait to make it each Easter and continue to pass the tradition down to future generations.

12.04.2011

Soft Pretzel Bites With Cheddar-Mustard Dipping Sauce

Soft pretzel bites with cheddar-mustard dipping sauce

Sunday afternoons lend themselves easily to snacking. Whether there's just two of you, staying in and watching football games or movies, or you've got a group of friends coming over to watch the game, you'll want to whip up a batch of these pretzel bites and a savory cheddar-mustard dip to go with them.


I usually prepare pretzels and pretzel rolls the same way every time I make them -- after I make the dough and shape them, I poach them in a mixture of baking soda and water, brush them with an egg wash, sprinkle them with salt, and bake them -- but I recently read that you can bake baking soda to get results similar to using a lye solution (which is typically not recommended for home cooks but is used for signature pretzel flavor). I figured I would give it a try. At the very least it would eliminate the step of brushing the pretzels with an egg wash.

I wouldn't say these pretzel bites came out any more pretzel-y than poached pretzels, but I did find bathing the bites in baked baking soda and water easier than poaching. The baking soda needs an hour in the oven, so it can be baked while the pretzel dough proofs. Then it's just a matter of soaking the pretzel bites in the baked baking soda and water bath for 4 minutes per batch, rinsing them in a clean water bath, transferring them to a baking sheet, sprinkling them with salt, and baking them. The pretzels bake for just long enough to give you time to whip up some cheddar-mustard sauce to go with them.

These soft pretzel nuggets get a little crunchy crust on the bottom and are the perfect game-time treat, especially when paired with creamy cheddar-mustard dipping sauce.

Soft pretzel bites with cheddar-mustard dipping sauce

Soft Pretzel Bites (adapted from Two Peas and Their Pod)

Ingredients

2 3/4 cups warm water
1 tablespoon light brown sugar
2 teaspoons instant yeast
3 tablespoons unsalted butter, melted, plus softened butter for bowl
1 1/4 teaspoons kosher salt
2 1/4 cups all-purpose flour
1/2 cup baking soda
Pretzel salt

Preparation

Preheat oven to 250 degrees.

Combine 3/4 cup warm water, brown sugar, yeast, melted butter, salt, and flour in bowl of stand mixer fitted with dough hook. Mix on low speed until combined. Increase speed to medium, and continue to mix until dough pulls away from sides of bowl and starts to form a ball.

Dump dough out onto counter, and knead into a ball.


Rub inside of glass bowl with some soft butter, add the dough ball, and turn to coat with butter.


Cover bowl, and let dough rise in warm spot for 1 hour, or until doubled in size.


While dough is rising, spread baking soda on foil-lined baking sheet, and bake in preheated oven for 1 hour. Remove baking soda from oven, and increase heat to 425 degrees.

Divide dough into 4 pieces, and roll each piece into a long rope. Cut the ropes into 1-inch pieces to make the pretzel bites.


Carefully combine the baked baking soda in a large glass bowl with 2 cups warm water. Fill another bowl with plain water. Working in batches, bathe the pretzel bites in the baking soda-water mixture for 3 to 4 minutes, stirring to coat all sides. Then dunk the pretzel bites in the plain water to rinse. (I don't know if it's necessary, but I changed the plain water after each rinse, so I would have clean water for each batch.)


Arrange the pretzels on baking sheets lined with parchment or Silpat mats, and sprinkle with pretzel salt.


Bake for 12 to 13 minutes, or until dark golden brown, rotating sheets from top to bottom and front to back halfway through.


Serve hot with cheddar-mustard dipping sauce.

Soft pretzel bites with cheddar-mustard dipping sauce

Cheddar-Mustard Dipping Sauce (adapted from Two Peas and Their Pod)

Ingredients

1 tablespoon butter
1 tablespoon flour
2/3 cup milk
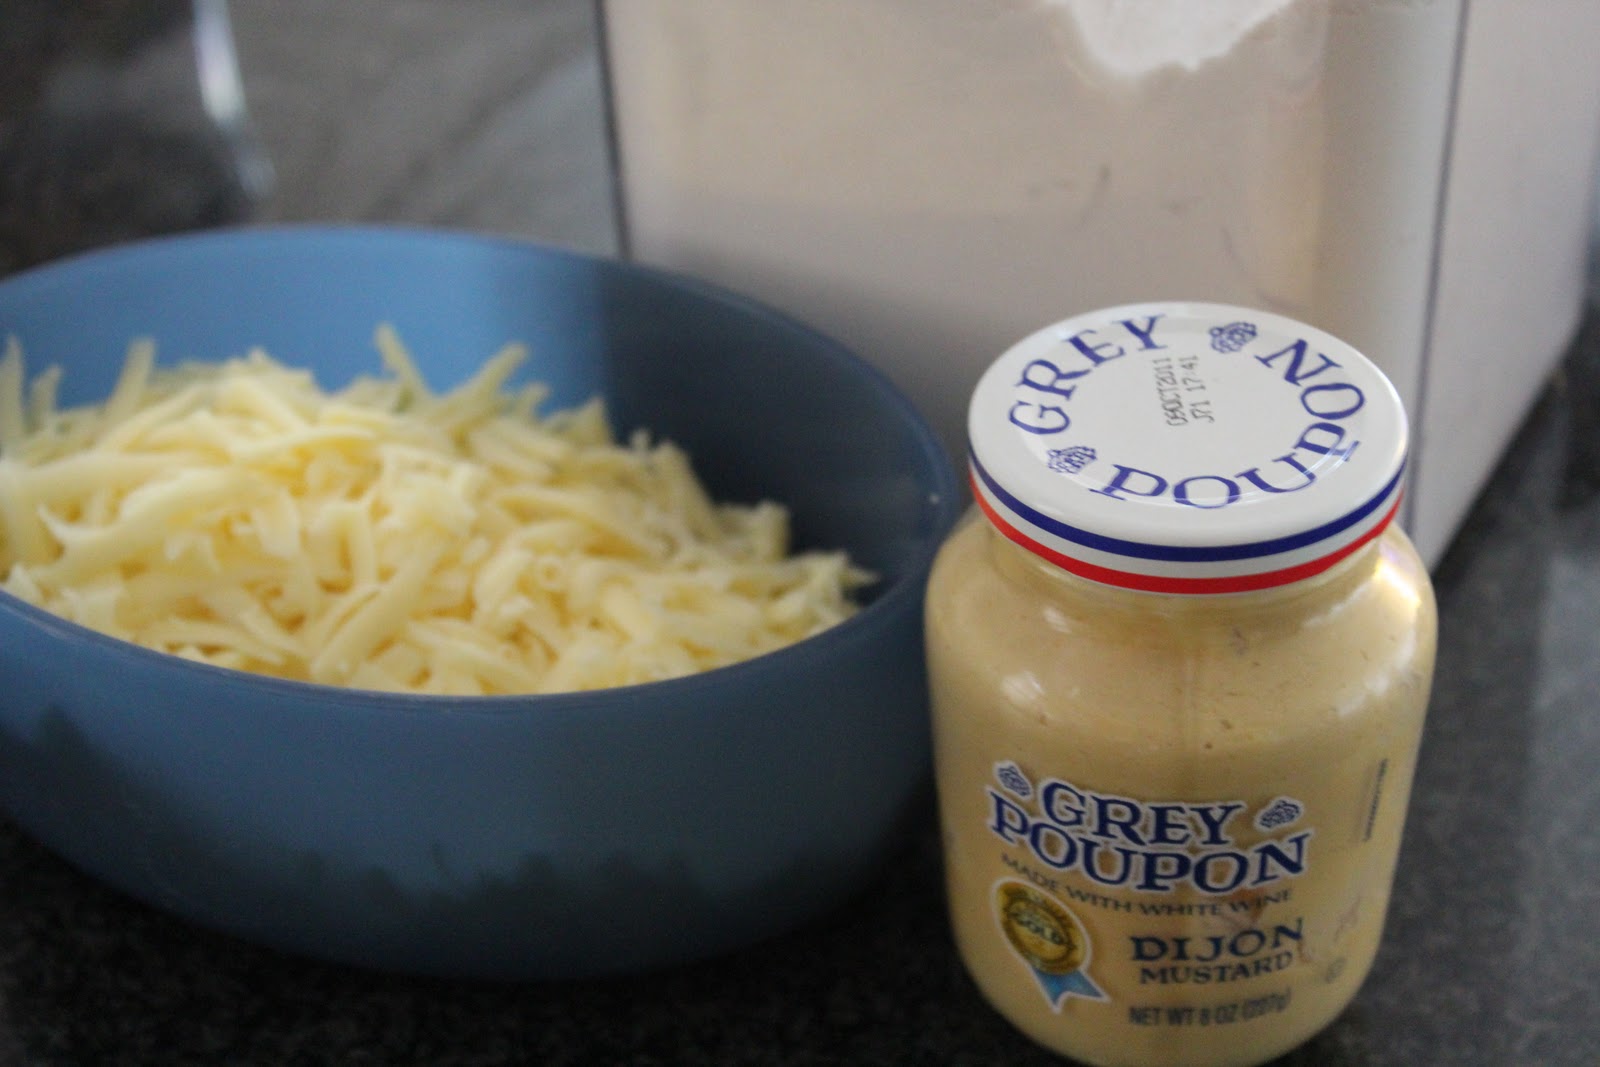
6 ounces cheddar, shredded
2 teaspoons Dijon mustard

Preparation

Melt butter in small saucepan set over medium heat. Stir in flour, and cook for 1 minute.

Slowly stir in milk by the tablespoonful, making sure it is fully absorbed by the flour mixture before stirring in more.

Once all the milk has been added, stir in the cheese.


When cheese is melted and sauce is smooth, stir in the mustard. Serve hot.


I loved the sharp flavor of the the cheddar-mustard dipping sauce. I started with an easy béchamel and simply stirred in some cheese and mustard. You can easily use this recipe to make a plain cheese sauce or different flavored cheese sauces. I'm thinking about cutting back on the flour a little next time, which would enable me to add a little less milk too, but otherwise I thought the sauce came out great. And if you have leftover sauce, try gently reheating it and pouring it over vegetables like brussels sprouts and broccoli.

What are your favorite Sunday snacks?

10.26.2011

Mini Pepperoni Pizza Pull-Apart Breads

Mini pepperoni pizza pull-apart breads

A few weeks ago Elina had a little gathering at her house, and I arrived just in time to help her finish assembling some pepperoni pizza monkey bread. To make the bread, she was flattening small balls of pizza dough, sealing pepperoni and cheese inside them, coating them with garlic butter, and tossing them in a Bundt pan. The ingredients and recipe were pretty simple, but the end result was an impressive party treat. After Elina baked the monkey bread, she set a bowl of tomato sauce in the middle of it, so guests could pull off a chunk of the bread and dip it in the sauce. And the whole thing was gone in no time... it was just as addictive as pizza, having all those same flavors.

I found myself craving the bread a week or so later, but having no party guests coming over to serve the bread to, I thought it would be fun to make it on a smaller scale and put my mini tube pans to use. And just as I had helped Elina, I got Jeff to help me. I set Jeff to work weighing out 1/2 ounce balls of dough. As he prepped those for me, I flattened them and filled them. I made two mini breads using pepperoni and mozzarella and one with pepperoni and provolone. (I think Elina used cheddar -- so you can see how versatile this recipe is.)


Jeff and I each got a mozzarella version to ourselves and then split the provolone one. It was fun to make the little breads instead of just throwing together a pizza for dinner.

Mini Pepperoni Pizza Pull-Apart Breads 

Mini pepperoni pizza pull-apart breads

These mini pepperoni pizza pull-apart breads make a great snack or appetizer 
especially when served with a little tomato sauce.

Cook Time: 30 minutes
Yield: Makes 3 mini pull-apart breads

Ingredients

4 tablespoons butter
2 garlic cloves, minced
1 pound store-bought pizza dough
32 pepperoni circles, cut in quarters (use more if you like)
Mozzarella (shredded), provolone (cut in small pieces), or cheese of your choice (I didn't measure but about 4 ounces should be enough)
Pizza sauce, warmed, for serving (optional)

Preparation

Melt butter in small skillet over medium heat. Add garlic, and cook just until garlic is fragrant and starts to brown. Remove from heat.


Brush 3 mini Bundt or tube pans with a little of the garlic butter.

Divide the dough into 32 1/2-ounce pieces.


Flatten each piece of dough, and fill with 4 pepperoni quarters and a little bit of cheese.


Seal the dough with the fillings inside. Brush the dough balls with the garlic butter, and toss them in the prepared Bundt or tube pans. (You may need to wash your hands occasionally because the dough will start to get slippery and not make a good seal from all the butter.)

I did two layers of five balls in each pan and had two balls leftover, which I just tossed in one of the pans. If you do this, you'll have two pans with 10 pieces of dough and one with 12 pieces.


Brush the remaining garlic butter on top of the dough balls in each pan.


Cover the pans with a towel, and let rest for 30 minutes.

Meanwhile, preheat oven to 400 degrees.

Uncover the pans, and bake for 25 to 30 minutes, turning halfway through, until golden brown. (I got a little impatient and could have left them in a bit longer to get more browning.)

Let sit for 5 minutes and then invert onto plates (or onto a cooling rack and then transfer to plates, whichever is easier).

Serve with warmed pizza sauce, if desired.

Mini pepperoni pizza pull-apart breads

Note: You could easily double the recipe and make 6 pull-apart breads, perfect for a small gathering or dinner party.

Filled with gooey cheese and spicy pepperoni, these little pepperoni pizza breads are the perfect stand-in for traditional pepperoni pizza and are super-cute and fun to eat too.

Which bloggers are inspiring you these days?

5.30.2011

Cheddar-And-Onion Smashed Burgers With Homemade Sesame Buns

Cheddar-and-onion smashed burgers with homemade sesame buns

Happy Memorial Day! Memorial Day usually kicks off grilling season around here. I love being outside and eating hot dogs and hamburgers and grilled chicken, steaks, and salmon. I can't wait until we have a house with a yard so we can have our own grill. Once we do, I look forward to throwing some sort of protein and corn on the cob on the grill all summer long. For now I just relish the times I get to hang out with friends and family who have grills and outdoor space.

Because we can't grill outside, I'm always on the lookout for tasty recipes I can make indoors in a grill pan or using my Cuisinart Griddler. I was pretty excited to see an article in Food & Wine about burgers actually being better on a griddle. Of course, if you read the whole article, you soon find out they want you to put the griddle on the grill. I knew if I followed the recipe without using a grill, my burgers wouldn't get that smoky grill flavor, but I figured they'd at least partially satisfy my craving for grilled foods.

Cheddar-and-onion smashed burgers with homemade sesame buns

I remembered that Alicia had recently made her own burger buns, so instead of buying some this time, I decided to make my own too. I found a recipe from King Arthur Flour and set to work on the buns about 3 hours before I wanted dinner to be ready. They are so easy to make. As long as I have the time to make burger buns, I'll be doing that as opposed to buying them from now on. They are definitely worth it.

Homemade sesame seed burger buns

Homemade Sesame Seed Buns (adapted from King Arthur Flour)
Print this recipe
Makes 8 buns

Ingredients

3/4 to 1 cup lukewarm water (less in humid environment, more in dry climate)
2 tablespoons butter, softened
1 egg
3 1/2 cups all-purpose flour
1/4 cup sugar
1 1/4 teaspoons kosher salt
1 tablespoon instant yeast
1 egg white, beaten
Sesame seeds, for topping

Preparation

In bowl of stand mixer fitted with dough hook, combine water, butter, egg, flour, sugar, salt, and yeast.


Run mixer on low speed until dough becomes soft and smooth.

Transfer the dough to a large buttered glass bowl, cover it with a towel or plastic wrap, and let it rise for 1 to 2 hours, until it has nearly doubled.


Gently deflate the dough, and divide it into 8 pieces. (To divide it evenly, use a scale. My dough weighed just slightly more than 800 grams, so I divided the dough into 8 roughly 100-gram pieces.)


Roll each piece into a ball. (See this how-to video.)


Space the dough balls out on a sheet pan lined with parchment or a Silpat, and flatten each one to about 3 inches across.


Cover the baking sheet with a towel or plastic wrap, and let the buns rise for another hour. They should look puffy.


Preheat oven to 375 degrees.

Brush the buns with the egg white, and sprinkle sesame seeds on top.


Bake the buns for 15 to 18 minutes, or until golden.

Homemade burger bun with sesame seeds

Transfer buns to a rack to cool.


Cheddar-And-Onion Smashed Burgers (adapted from Food & Wine, June 2011)
Print this recipe
Serves 2

Ingredients

Favorite pickles of your choice, thinly sliced
2 homemade burger buns, halved
2 ground beef patties (or 1/2 pound ground beef)
Salt and pepper
Garlic powder
1/2 Vidalia onion, sliced paper thin
2 slices cheddar cheese

Preparation

Heat griddle to 400 degrees.

Layer pickles slices on the bottoms of the buns.


Place the patties on the grill, press them with a spatula, and cook them for 30 seconds. (Or for ground beef, loosely form the meat into two balls, and place them on the griddle. Cook the meatballs for 30 seconds. Then flatten them with a spatula to make 5-inch patties.)


Season the patties with salt and pepper and garlic powder, and cook for 2 minutes, until well-seared.


Press a handful of onions onto each patty.


Carefully flip the burgers so the onions end up on the bottom.


Season with salt and pepper and garlic powder again, and top each patty with a slice of cheese. Cook for 2 minutes.


Then cover the patties and griddle with a roasting pan turned upside down, and cook for another minute, or until cheese is melted.

Transfer the burgers to the bottom buns.


Cover with the bun tops.

Cheddar-and-onion smashed burgers with homemade sesame buns

A couple of notes on this recipe: I made these twice, and I went through the balling and smashing the first time and skipped it the second time. You could go either way. I added seasoning the burgers on the second side and also using garlic powder because these needed more flavor. (You're really supposed to finish them with umami dust, but I didn't have it or want to buy the ingredients to make it.)

These are definitely the best-tasting burgers I've made indoors. While I love the classic toppings (cheese, onions, and pickles), I know I'll be adding tomatoes to these burgers when I can find ripe ones at the farmers' market this summer. Tomatoes are pretty classic too, I think.

What are your plans for Memorial Day?

I'm in Aruba right now and have no idea how we'll be celebrating. I plan to spend the day on the beach though!