

Have you ever had pretzel rolls? I've been dreaming about making them since I had them at L'Espalier months and months ago. This wasn't the first time I'd ever had them, but it was the first time I had them on their own rather than as a burger bun. Since then I've loved the idea of making them and serving them in place of traditional dinner rolls or bread. Like any good soft pretzel, they have the perfect bit of saltiness and that chewy texture, but they're a little more sophisticated because they're rolls.
I saw a recipe a while back on Stresscake and bookmarked it until I had the time (and energy) to make the rolls. You can find the original recipe over there, but here I've tried to simplify it a little and make it seem less daunting. Also, I'm a bread snob, so I don't recommend microwaving the leftover rolls. Instead, as you'll see below, I suggest freezing the rolls prior to their second rise. Then you'll just need to take them out and give them enough time to thaw and rise before baking them. Any time there's a way to eat fresh baked goods, rather than day-old, I'll opt for that.
Before starting this recipe, make sure to read through it completely. You'll want to note how much time you'll need for the two rising periods, baking, and everything in between. I actually printed the recipe and highlighted all the times before starting. It's best to know what you're getting yourself into.

Pretzel Rolls (adapted from Stresscake)
(Print this recipe)
Ingredients
1½ cups warm water (110°F or comfortably warm to the touch)
1 tablespoon active dry yeast (1 package)
2 teaspoons sugar
4½ cups unbleached all-purpose flour
2 teaspoons kosher salt
4 tablespoons unsalted butter, melted
2 quarts of water (or 1 quart if poaching fewer rolls)
1/4 cup baking soda (or 2 tablespoons if poaching fewer rolls)
1 egg, lightly beaten
Pretzel salt or kosher salt
Preparation
Combine the water and yeast in bowl of electric stand mixer fitted with dough hook, and let rest 5 minutes, until foamy.
Add the sugar, flour, salt, and butter, and mix with the dough hook until thoroughly combined. The dough will come together and start to feel silky rather than sticky.
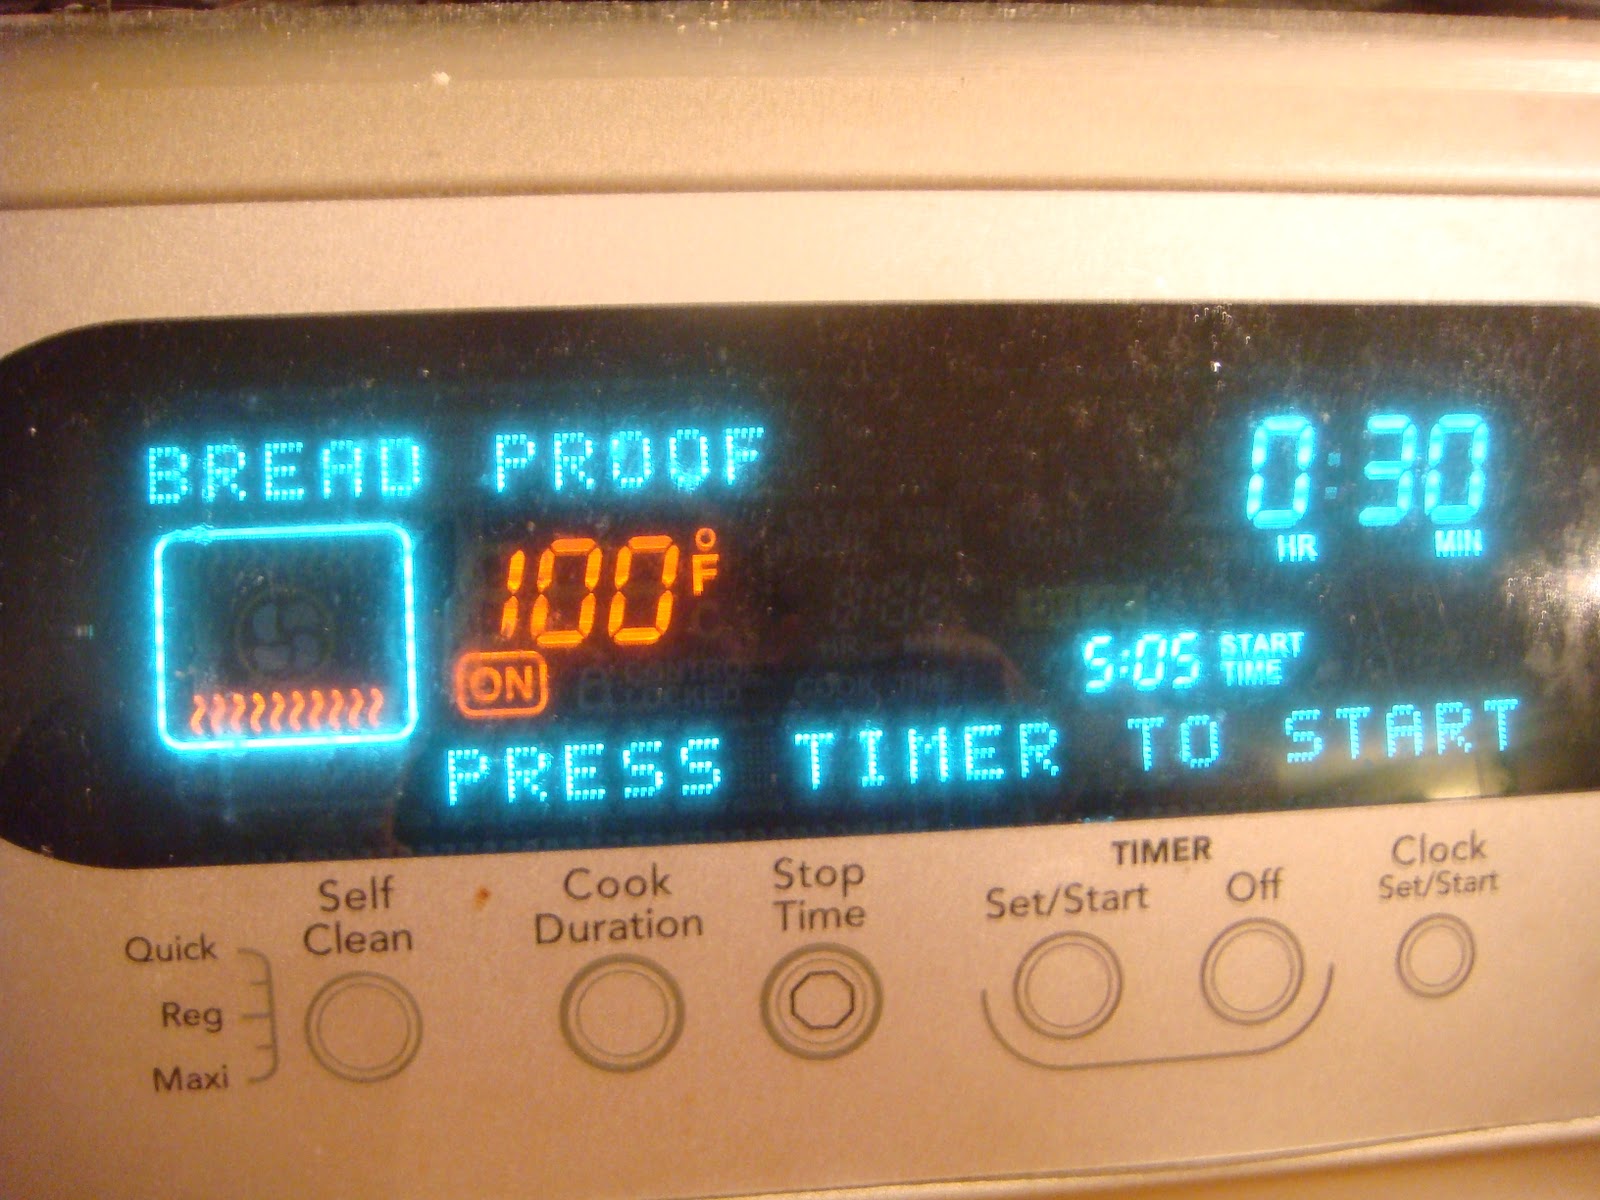
Cover the bowl with a towel and let the dough rise in a warm place for 1 hour, or until doubled in bulk. (If you have a bread proof option on your oven, I recommend this for consistent temperature.)

While the dough is rising, line two sheet pans with parchment paper or Silpats, and set them on the counter. If you have a scale, get that ready as well.
Turn the dough out onto a lightly floured surface, and knead it gently to deflate it (I learned at King Arthur that you should be nice to the dough and not punch it down).
Cut the dough into 18 pieces, roughly 2 ounces each. (If you have a scale, you can weigh the dough and portion it out.)

To shape, place a piece of dough on the counter and form a cage around it with your fingertips. Rotate your hand in small circles, rolling the dough around against the counter. (It took me several weeks of rolling balls of brioche at Flour to be able to use my left and right hands simultaneously, so don't worry if you can only use your dominant hand to do this. Besides, there are only 18 pieces of dough, not 200!)

This should create a nice, round smooth ball of dough with a "belly button" on the bottom.

Place as many rolls as you'd like to make that day on one sheet pan, spaced evenly, belly-button down, at least 1 inch apart.

Toss a little flour on the other sheet pan, place the rolls you'd like to save for another time on that pan, and toss it in the freezer.

Cover the rolls you left out with a towel, and let them rise in a warm place for 30 minutes, or until doubled. (Again, this is a great time to use the bread proof option if you have it on your oven. Remove the rolls from the oven before the next step if you do this.)

Preheat oven to 425°F.
In a large pot, bring 2 quarts of water to a low boil (or 1 quart if you're not poaching the full batch of rolls). Add the baking soda, and lower the heat to a simmer.
Carefully slip the rolls into the poaching liquid, belly button-side down. (I poached three at a time.) Poach for 30 seconds, and then carefully turn the rolls over in the liquid. Poach the other side for 30 seconds, and then using a spider or skimmer, transfer the rolls back to the sheet pan, belly button-side down. Repeat with the remaining rolls.

Using a pastry brush, glaze each roll with the lightly beaten egg, making sure to coat all sides completely.

Top each roll with a sprinkle of pretzel salt or kosher salt.

With a sharp, straight-edged knife (I used my Kuhn Rikon paring knife

Bake the rolls for 12 to 18 minutes, rotating the pan halfway through baking for even browning.

Let cool slightly, and dig in! I ate mine with butter, but mustard and cheese are always good alternatives!

(Once the rolls you transferred to the freezer have hardened, place them in a freezer bag. I've tried to get into the habit of labeling the stuff I put in the freezer, so I know what's what. With these rolls, I also wrote myself some quick reminder directions, so I'd know what to do with them without the recipe. As I mentioned above, you'll have to let them thaw and have their second rise before you can poach, glaze, salt, and bake them.)


Have you ever had pretzel rolls? Where did you have them?